
Our proven process
From first idea to finished wall in four clear steps—fast, precise, and low-disruption.
Four steps to wall printing excellence
We turn complex wall updates into a streamlined service.
Clear scope, crisp comms, zero drama.
01
Discovery consultation
We align on goals, review surfaces, gather dimensions, and map constraints so every decision is informed.
02
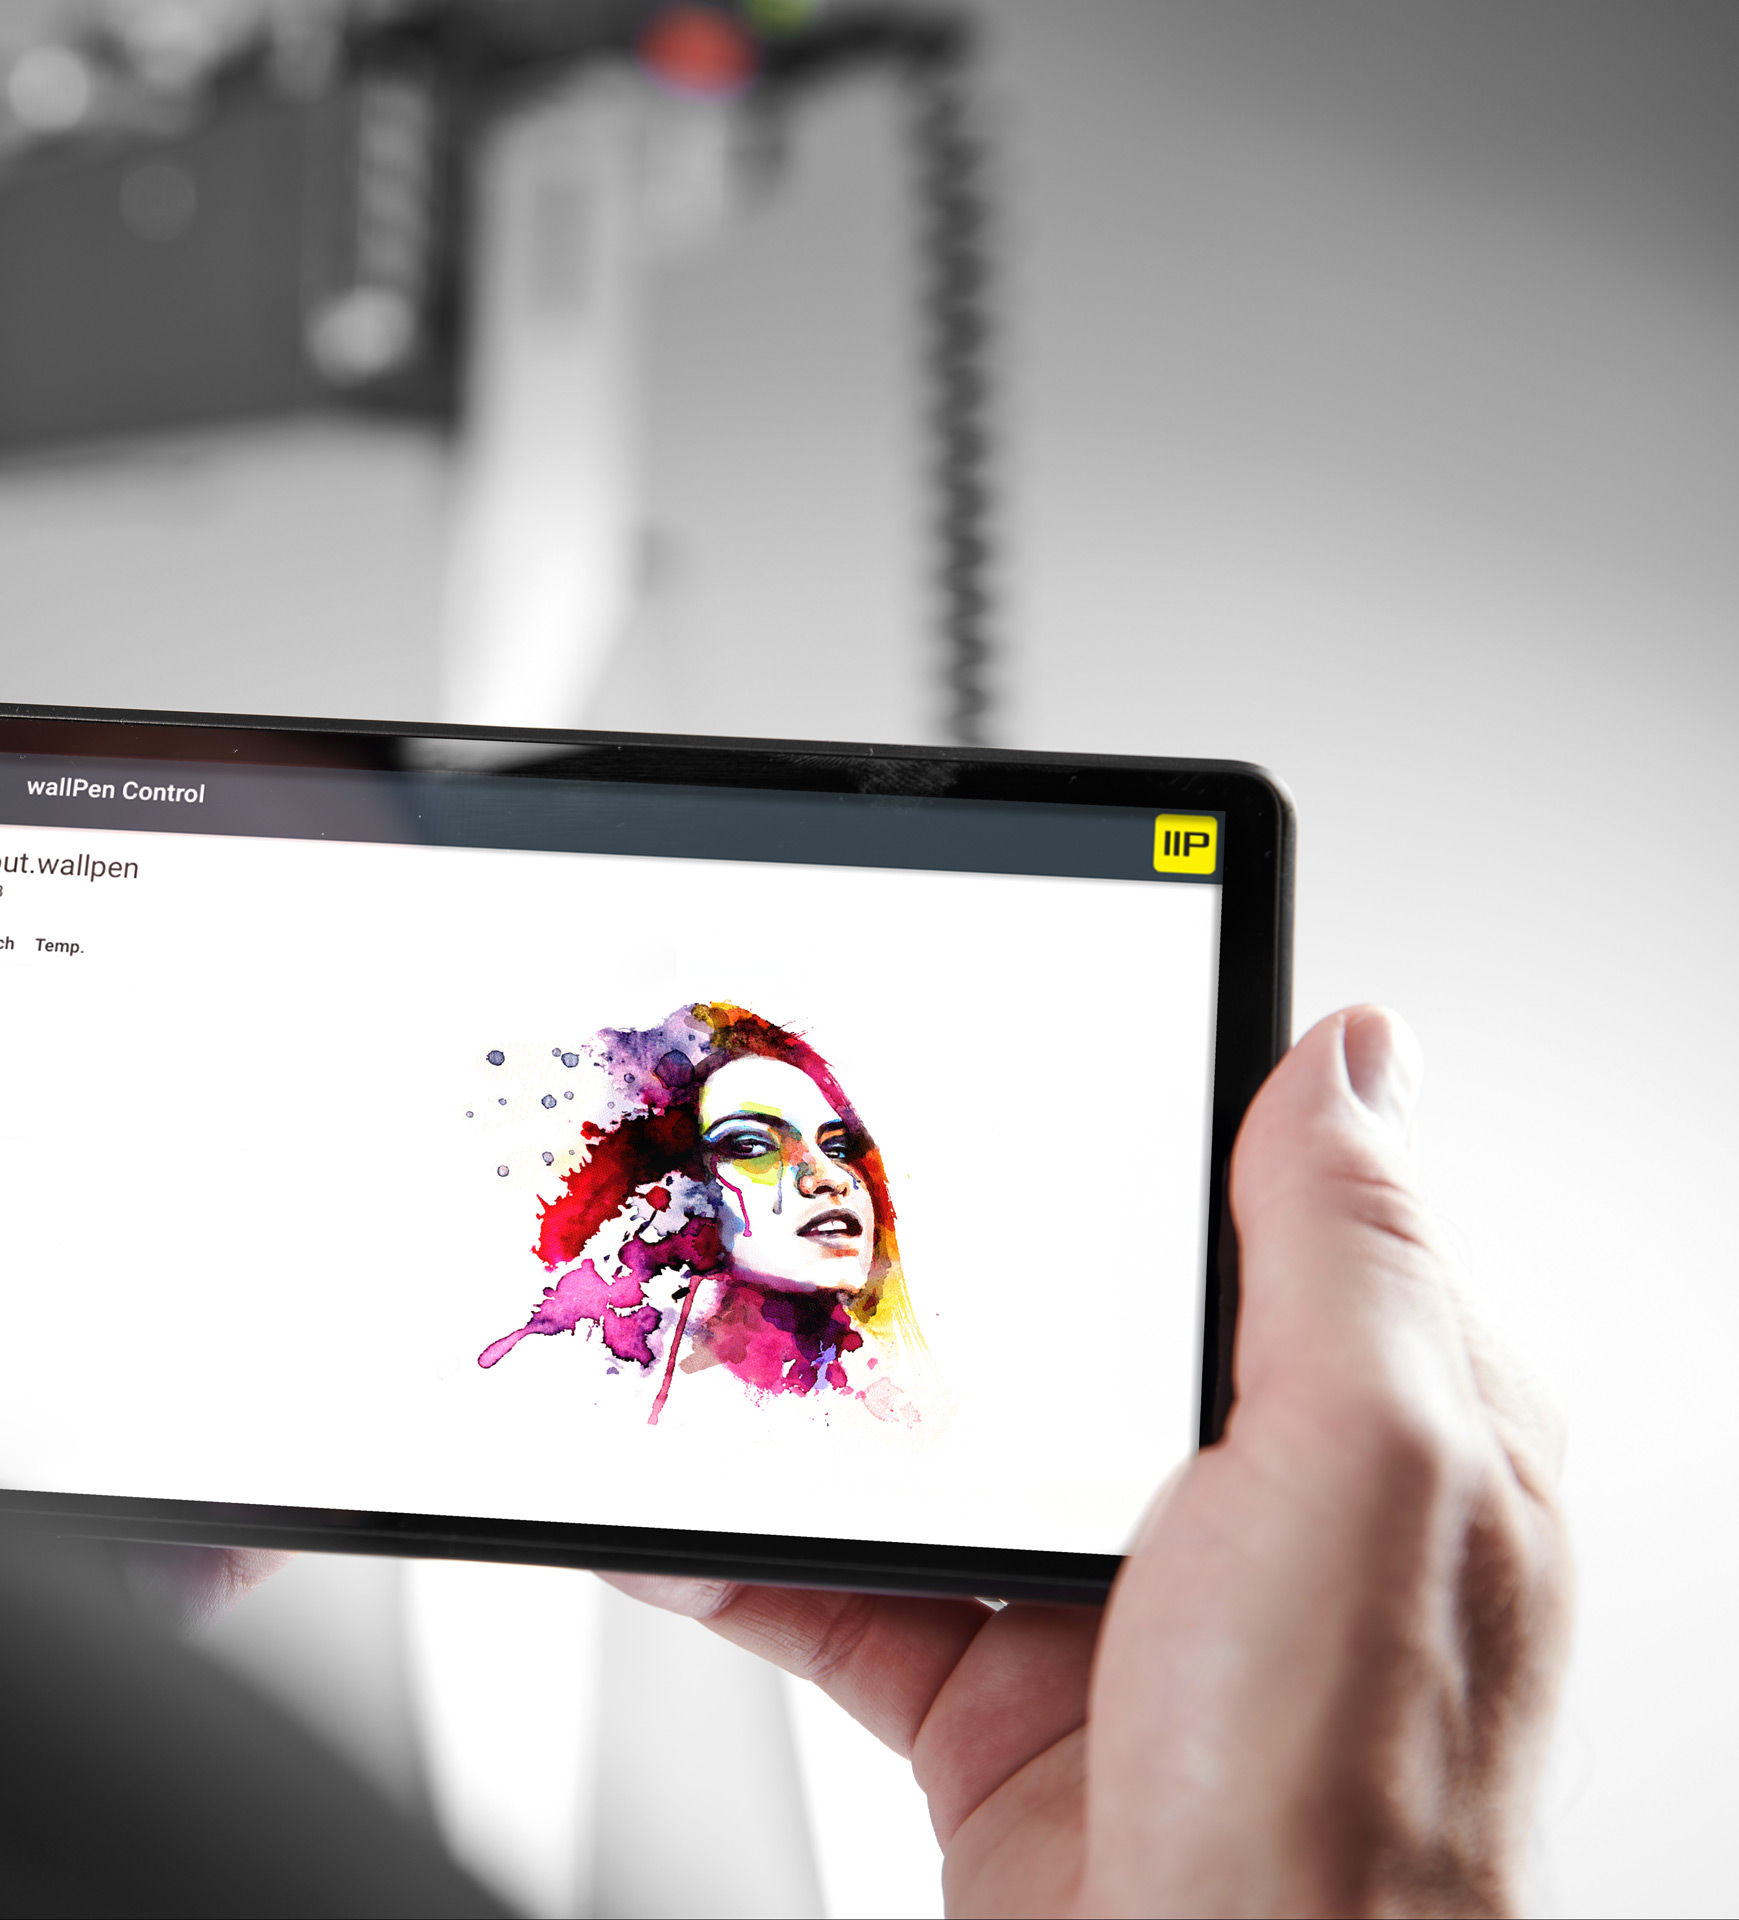
Design and asset preparation
We refine artwork and prep high-res files for the wall—color-checked, scaled, and print-ready.
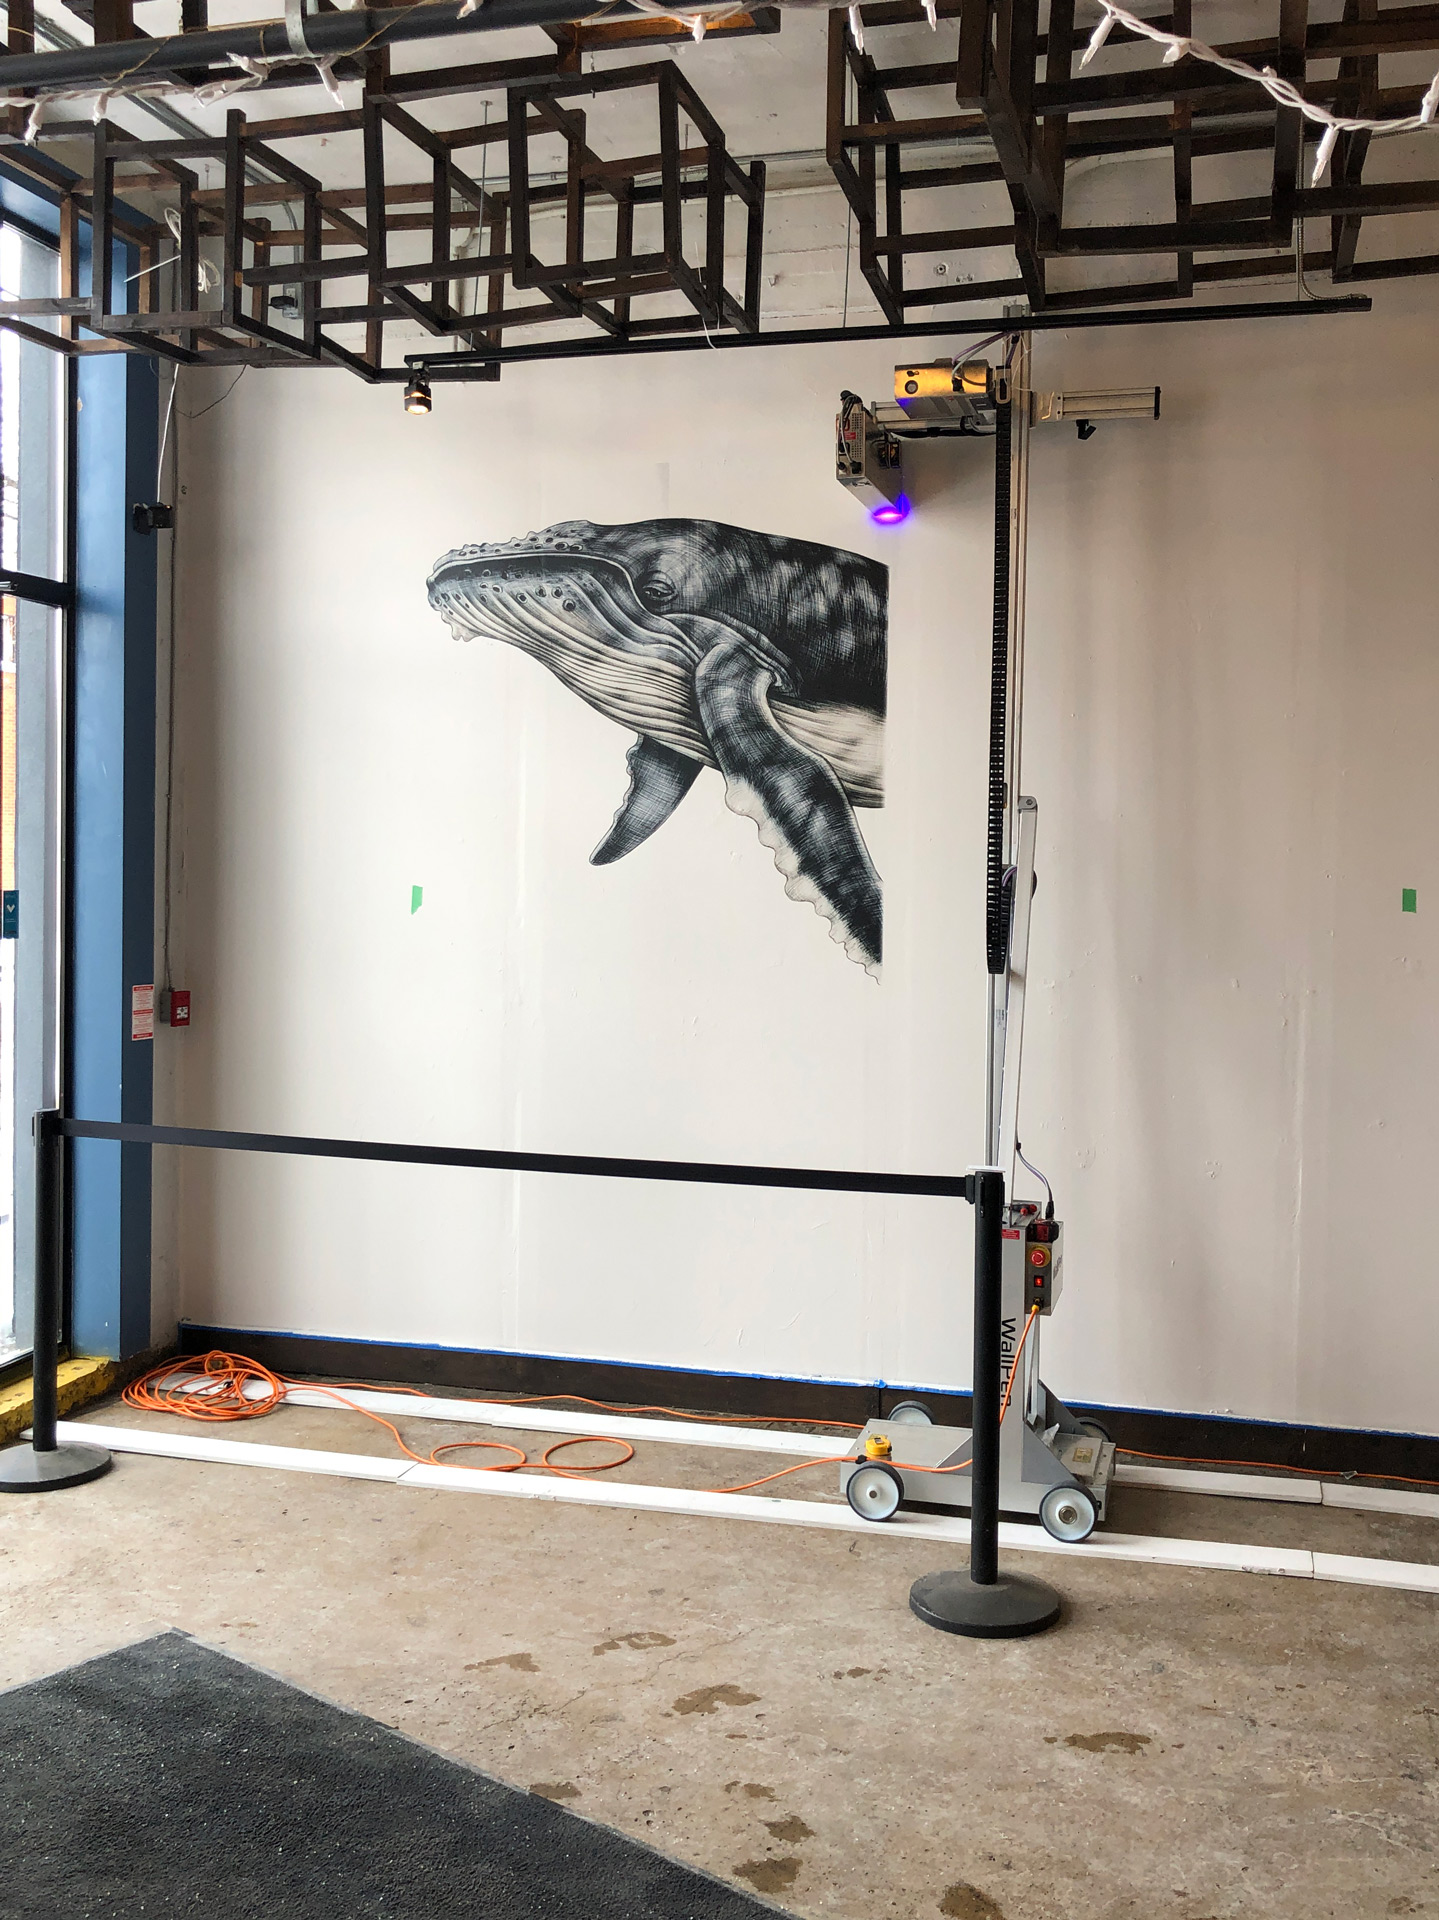
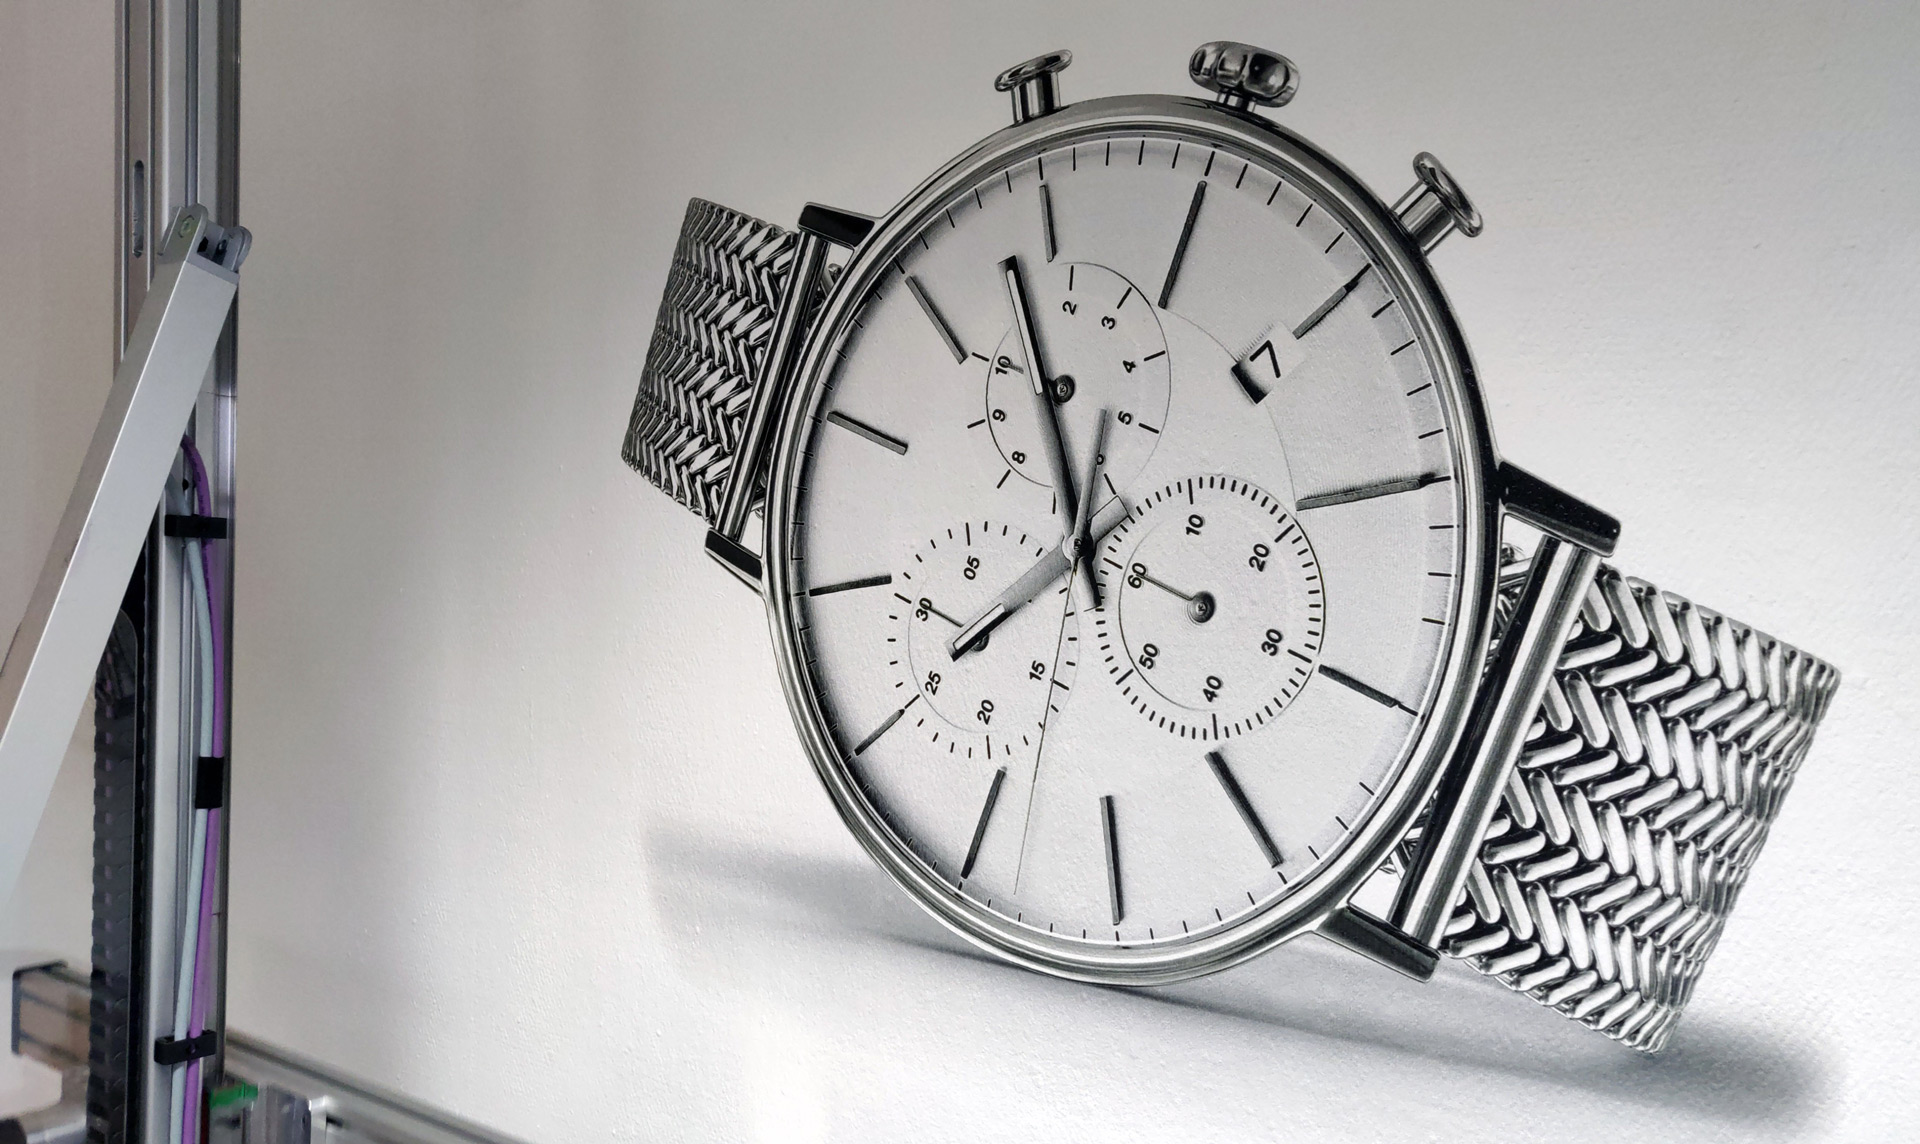
03
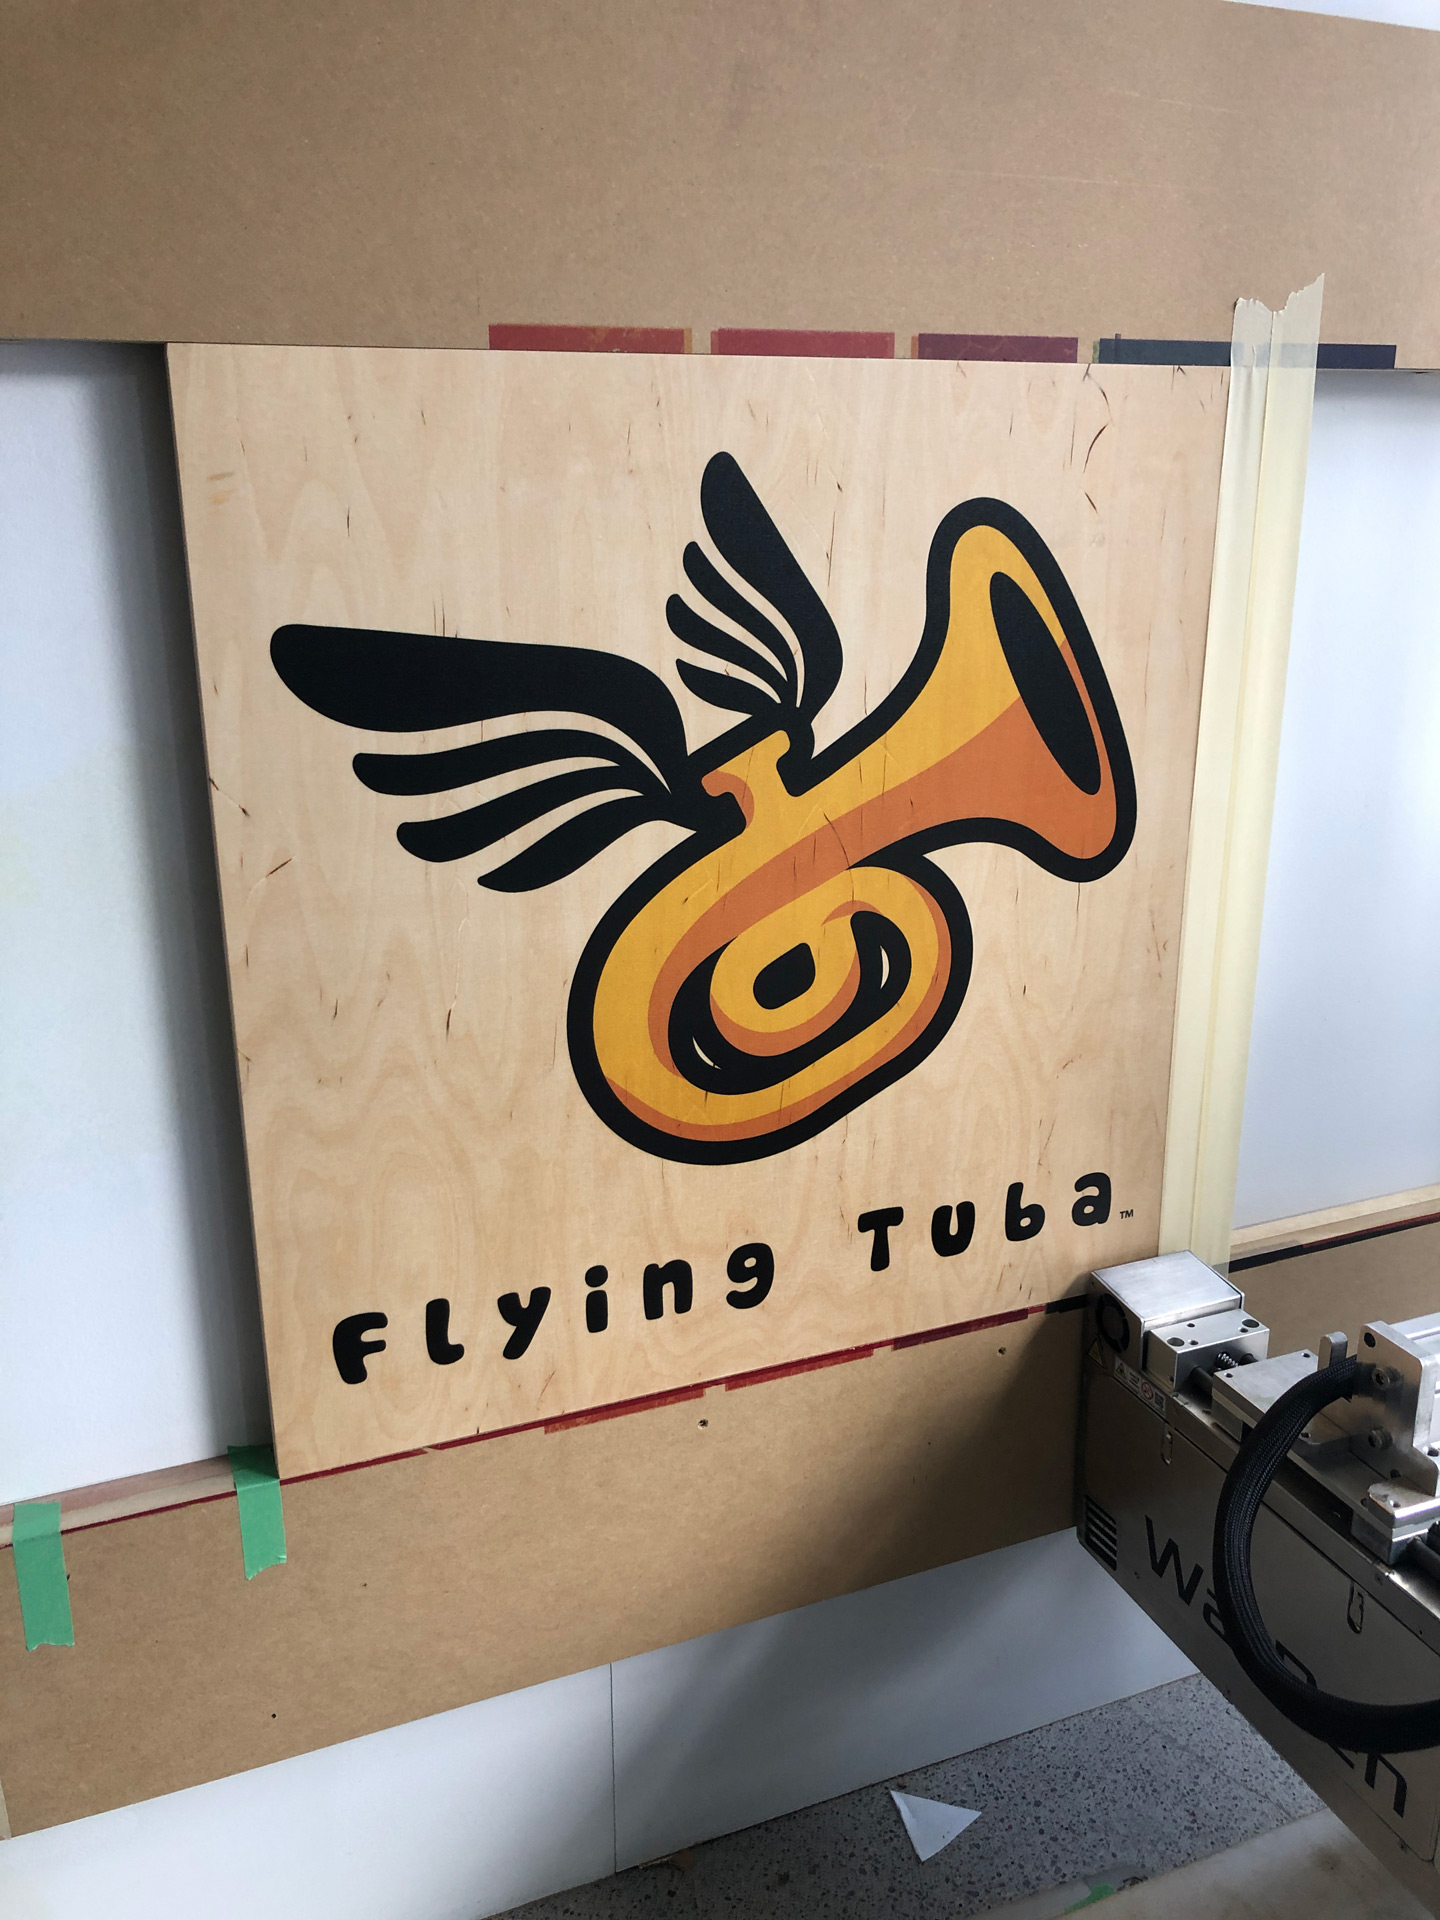
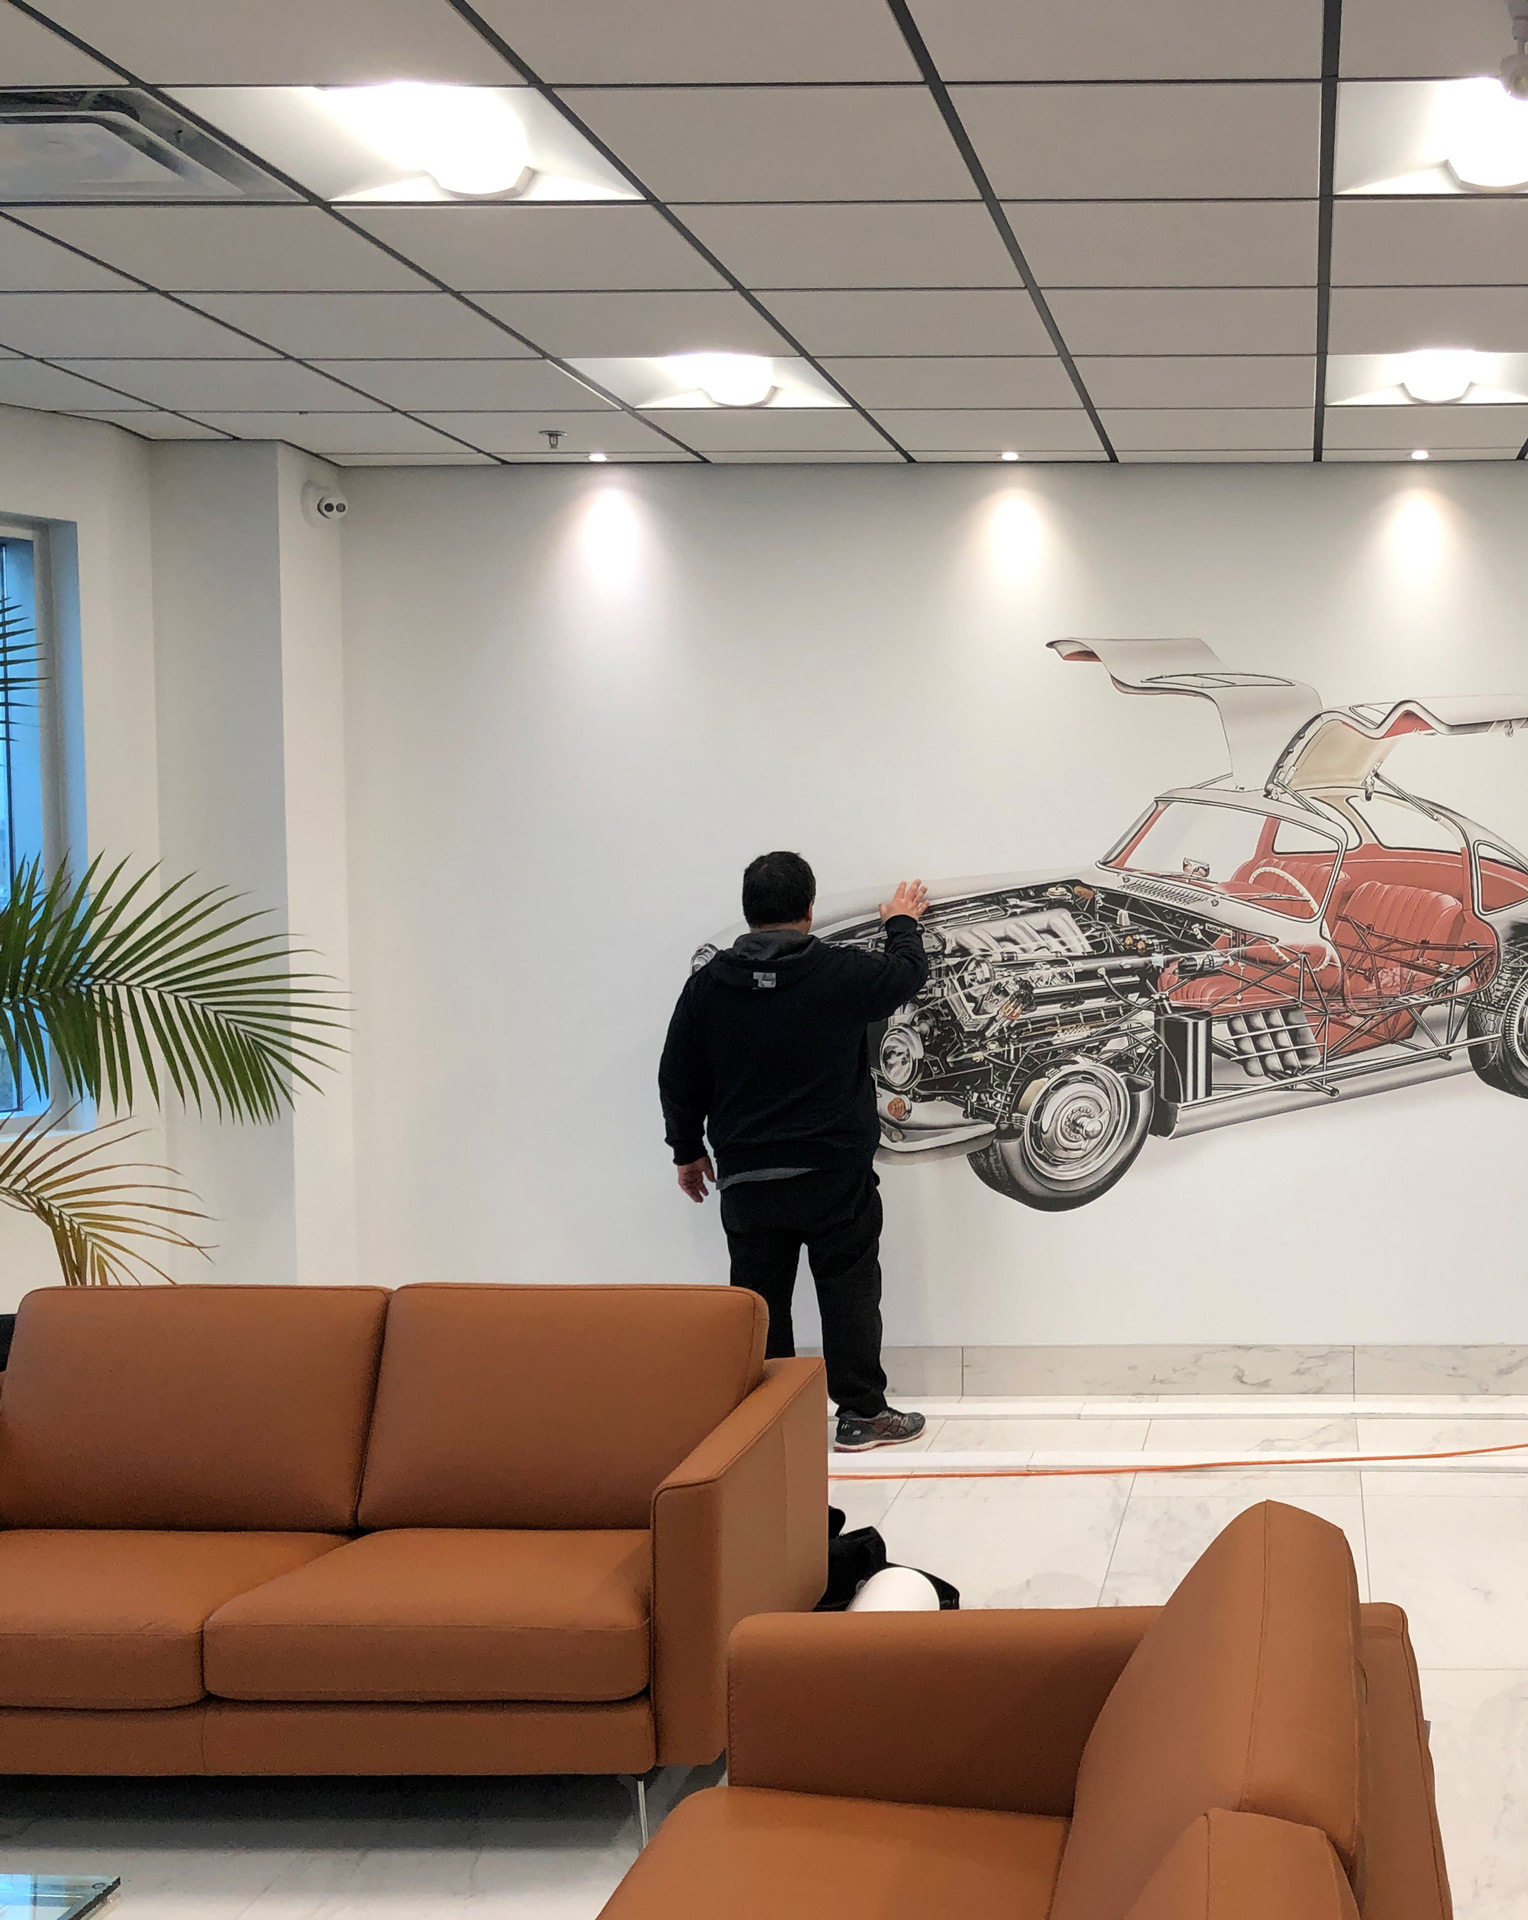
On-site printing
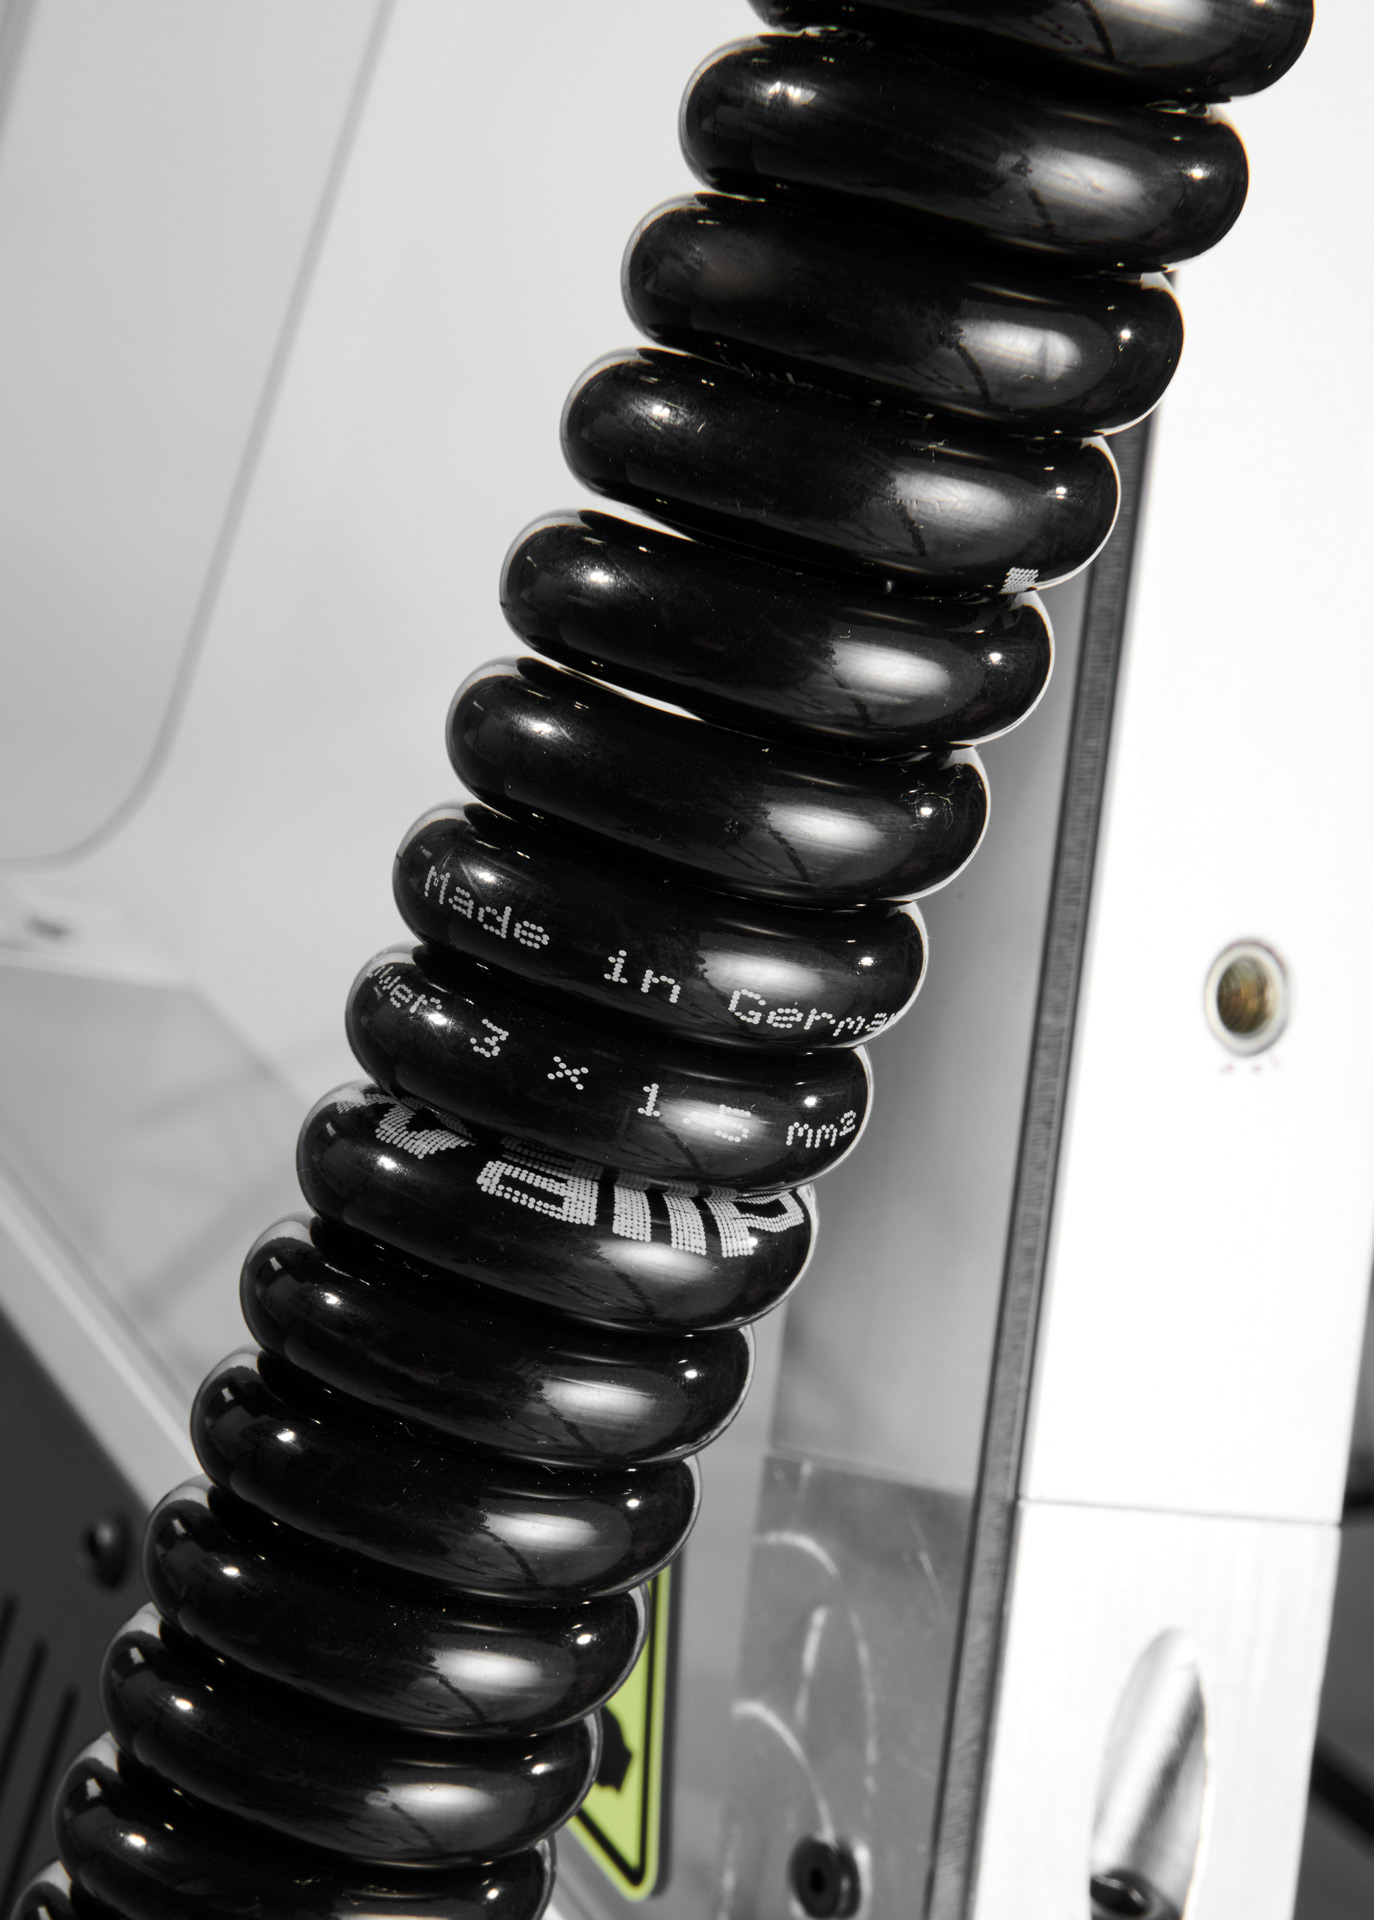
We arrive, level, test, and print with industrial UV tech. Clean setup, tight edges, pro finish. We leave your space clean and organized.
04
Quality assurance and aftercare
Final pass for consistency, then simple care guidance so your graphics stay sharp.
Measuring and Preparing your wall
Here are our two information sheets on how to measure your wall print space and how to prepare your wall for printing. Of course we're here for questions if you need us!
how long will my wall print last?
We've put together two information sheets on longevity and life span of wall prints.
Info for what happens after a print is complete
Here are two documents that outline after-care instructions and how to update a wall print.

Precision engineering meets visual storytelling
Industrial-grade hardware and UV inks deliver crisp, washable graphics on any wall or surface.

Ready to transform your walls?
Send a few details and dimensions, and we'll respond with a date and time to come out and view your space.